Restoring DD Images to Virtual Box
Bringing a Gateway 2000 486 DX Back to Life in a Virtual World
I recently stumbled across a fully working Gateway 2000 486 DX that was about to meet its fate at an e-waste recycler. For those who might not remember, the Gateway 2000 486 DX was an iconic machine of the early 90s, the kind you'd dream of owning back in the day. Powered by Intel’s 486 DX processor, this system was a beast for its time, allowing users to dive into everything from early Windows to DOS gaming with impressive (for then) performance. It had that classic Gateway cow box packaging and all the nostalgia you could pack into beige plastic.
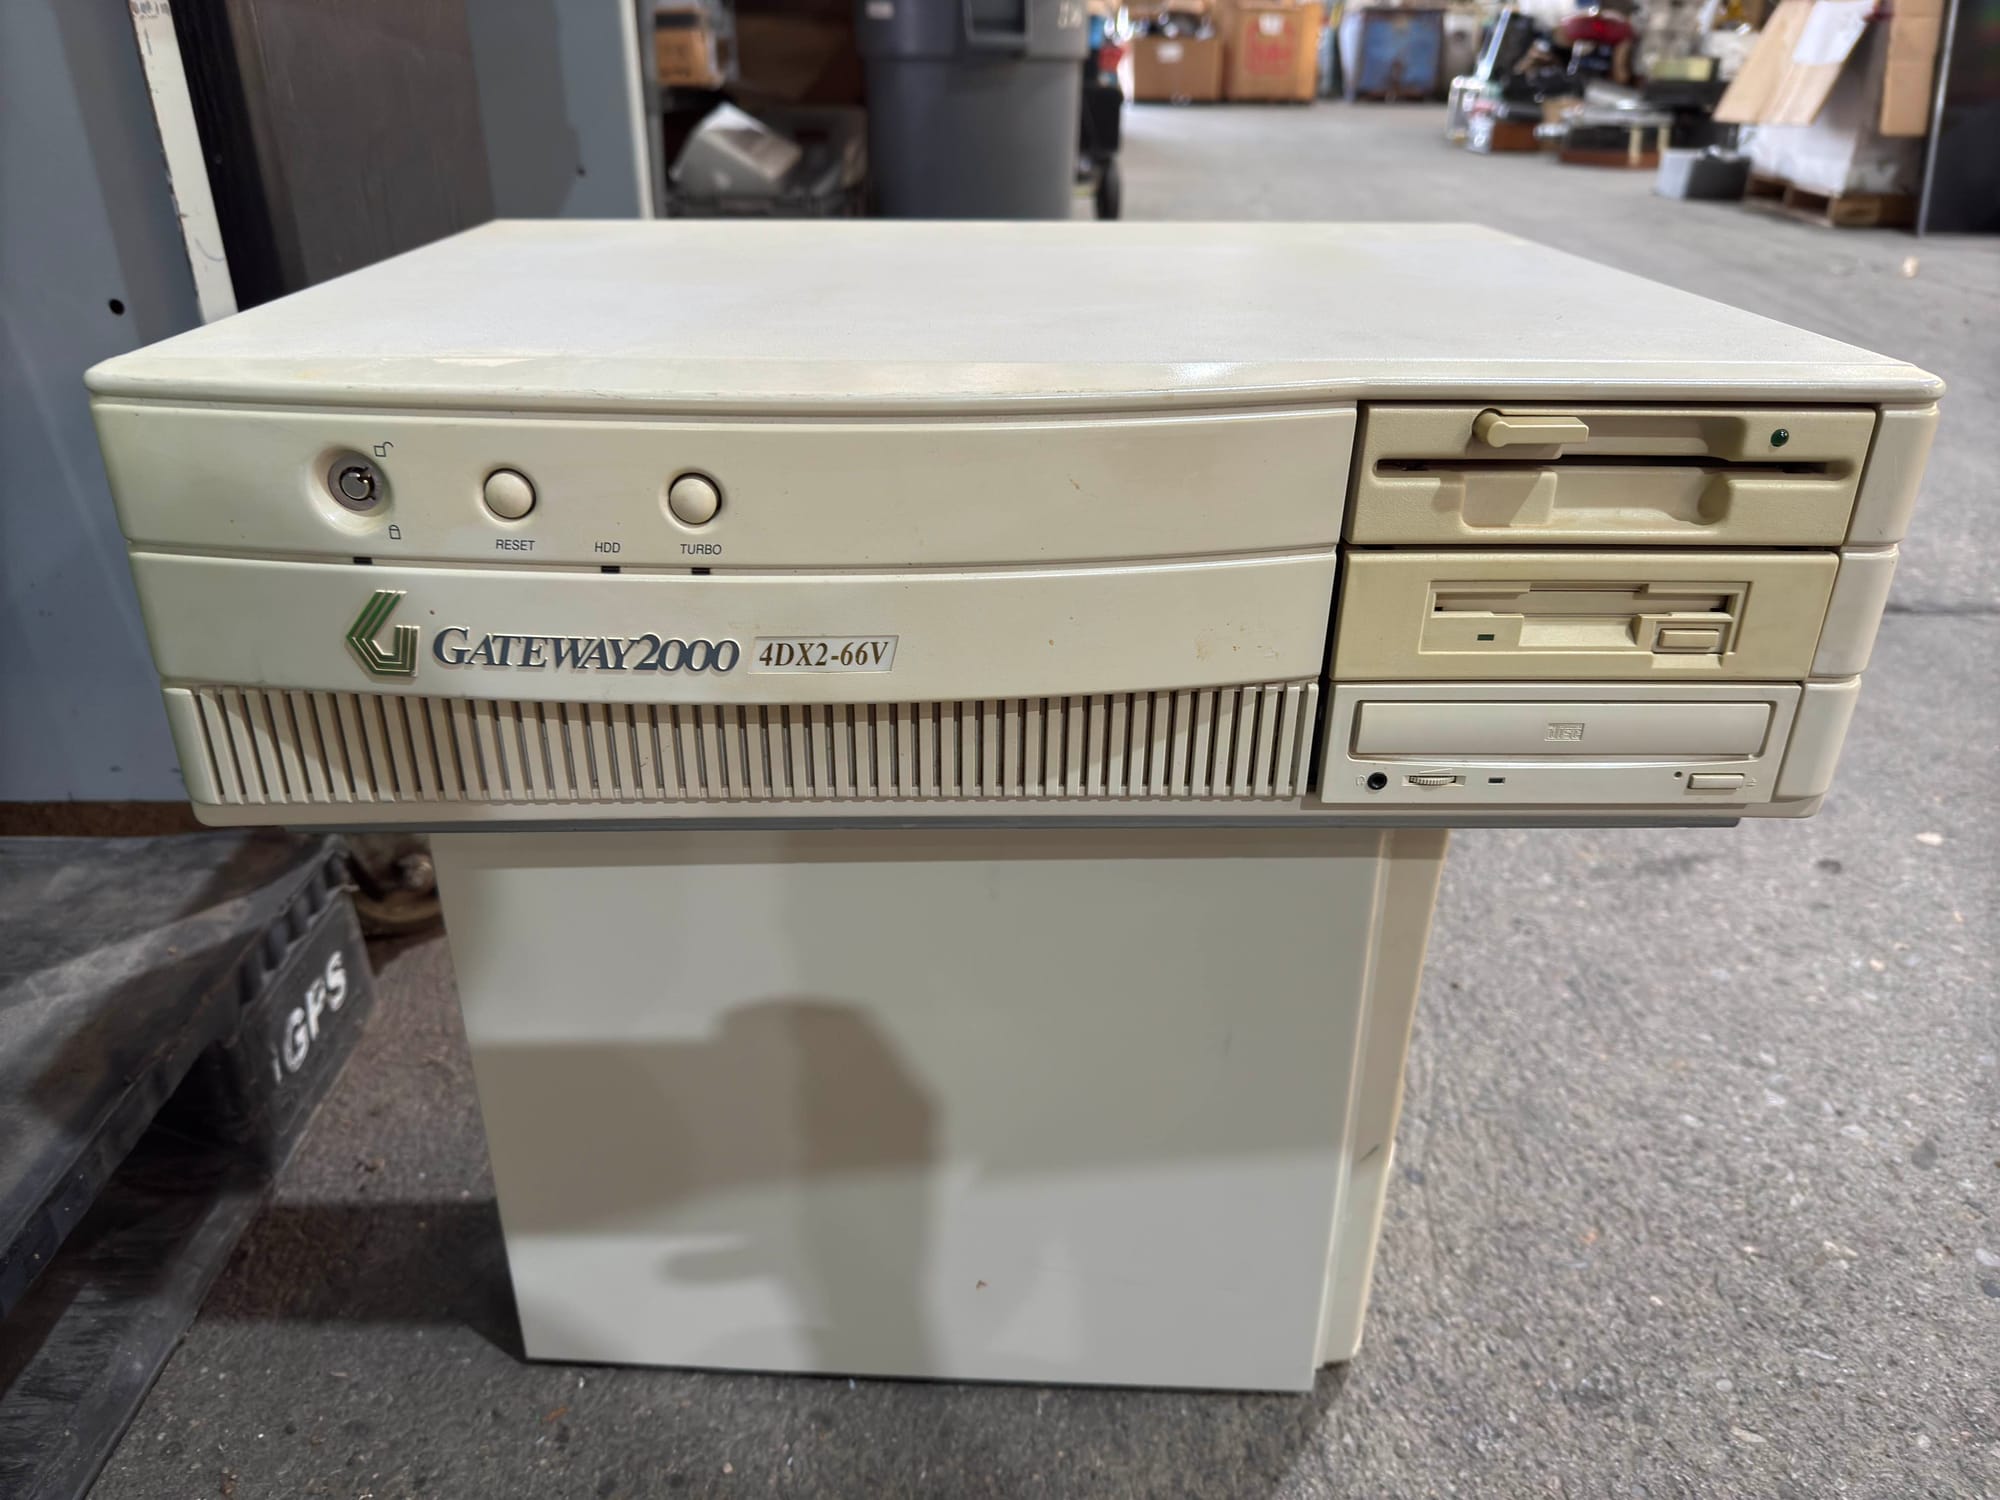
After getting my hands on it, I sent the system over to my friend Shelby at TechTangents. Shelby is a hardware preservation wizard, so he took care of cleaning it up and powered it on during one of his Twitch and YouTube live streams. It was pretty cool to see the machine come back to life in real-time with Shelby walking through the process.
While he had the machine running, Shelby created some DD images of the system’s hard drive and sent them back to me. With those in hand, it was my turn to see if I could load the image into a VirtualBox virtual machine and get that old Windows 95 system running again. Let me tell you, it was a ride—but one that ended with a successful boot into a vintage Windows 95 environment.
Converting the Gateway 2000 DD Image into a VirtualBox VM
The idea was simple: take that raw image file from the old 486 DX and get it running in VirtualBox on my current Windows 11 system. Turns out, there were a few steps to get it there, but nothing a bit of problem-solving couldn’t fix.
Step 1: Converting the DD Image to a Format VirtualBox Understands
VirtualBox doesn’t natively handle DD files, so the first step was converting that image into something it can work with—either VDI (VirtualBox Disk Image) or VMDK (VMware format). I opted for VDI, and thankfully, VirtualBox has a built-in command-line tool to help with that.

Here’s the command I ran in PowerShell, after navigating to VirtualBox's directory:
cd "C:\Program Files\Oracle\VirtualBox\"
VBoxManage convertdd D:\Gateway2000_Desktop\OG-HDD\og-hdd.img D:\Gateway2000_Desktop\OG-HDD.vdi --format VDI
Step 2: Creating the Virtual Machine
Once I had the VDI file, I was ready to fire up a new VM in VirtualBox.
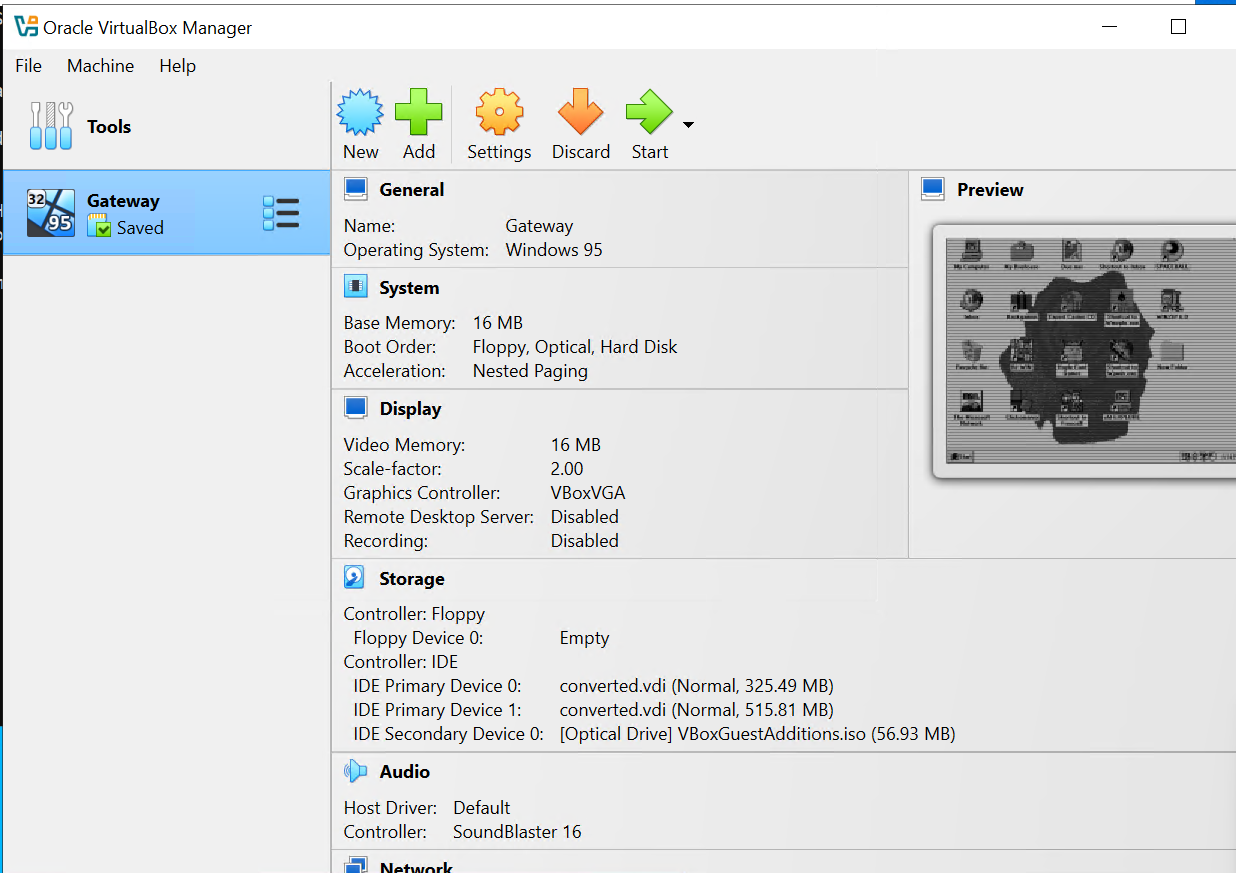
- Open VirtualBox, hit New, and set it up for Windows 95 (the Gateway’s OS at the time).
- Allocated 16 MB of RAM (this thing doesn’t need much).
- Under the hard disk settings, I selected Use an existing virtual hard disk file and pointed it to my newly converted VDI.
A few quick tweaks to the VM settings—like turning off hardware virtualization, because Windows 95 definitely doesn't like modern CPU extensions—and I was ready to go.
Step 3: Booting into Windows 95
After hitting Start, there it was: the familiar chime of Windows 95 booting up, now running on my modern desktop. It was pretty surreal, honestly, watching this relic of computing history come to life in a virtual environment.
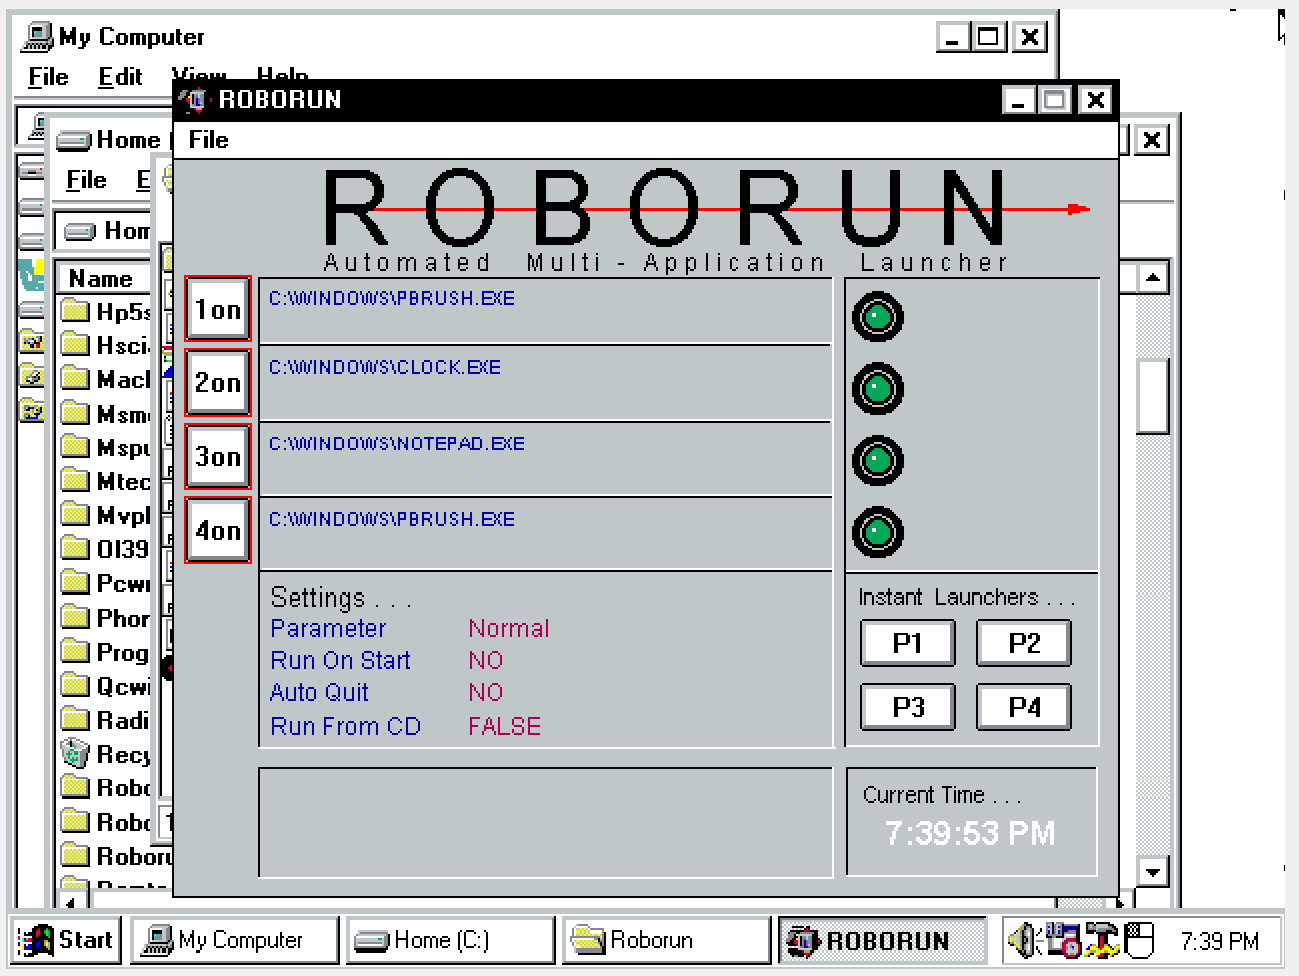
A Trip Down Memory Lane
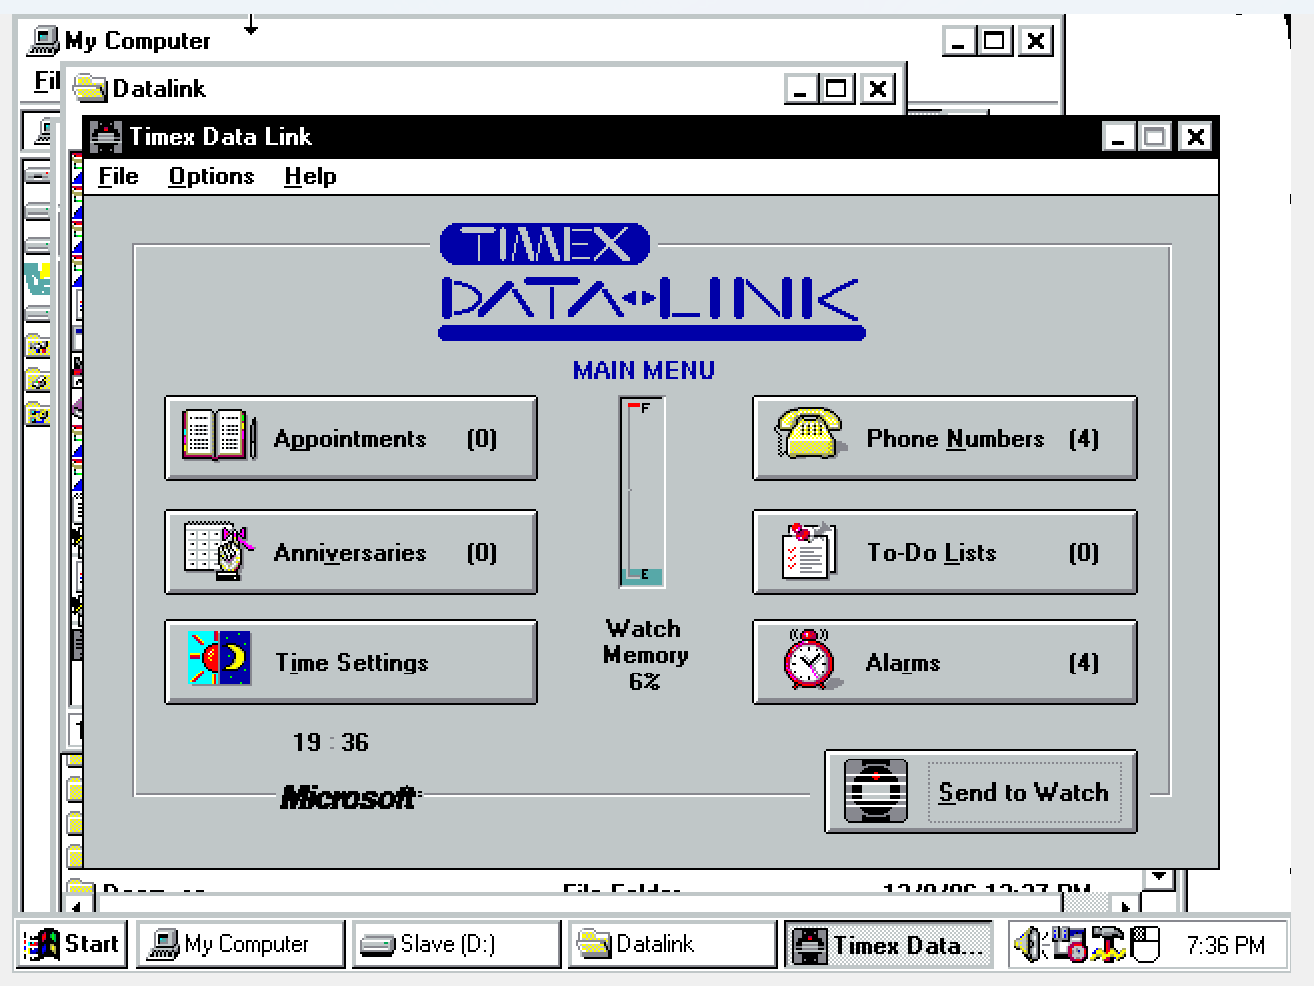
Inside the virtualized Gateway 2000 was a treasure trove of old software, from classic productivity tools to long-forgotten games. I’m talking Office 95, Lemmings, SkiFree, JezzBall, and an absolute massive gold mine of other classic Windows 95 software and games. It’s amazing how well some of this software has aged—though, some of it also serves as a great reminder of how far we’ve come.
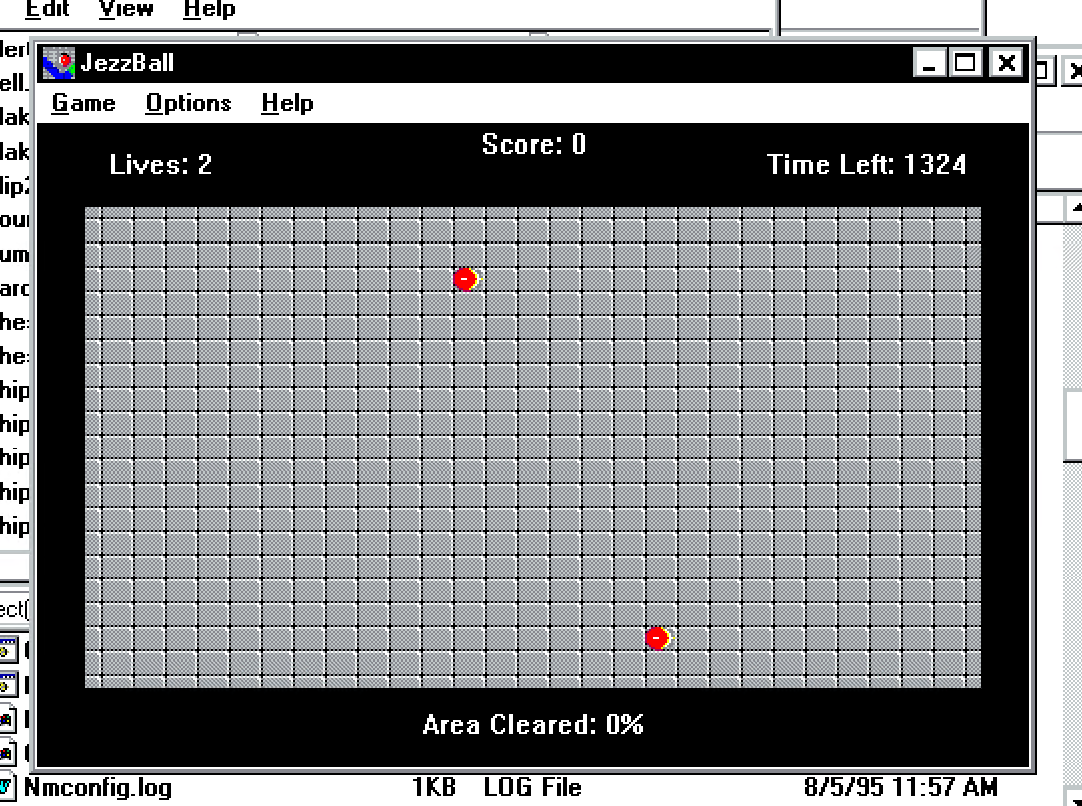
In the end, I successfully brought a nearly 30-year-old computer back to life, from an e-waste heap to a fully functional Windows 95 environment, running on VirtualBox. There’s something pretty cool about rescuing a piece of computing history and preserving it for the future, even if it’s just to play a few rounds of Chip’s Challenge.
If you’ve got an old system you’d like to preserve or revive, consider virtualizing it—you never know what digital gems you might uncover.
